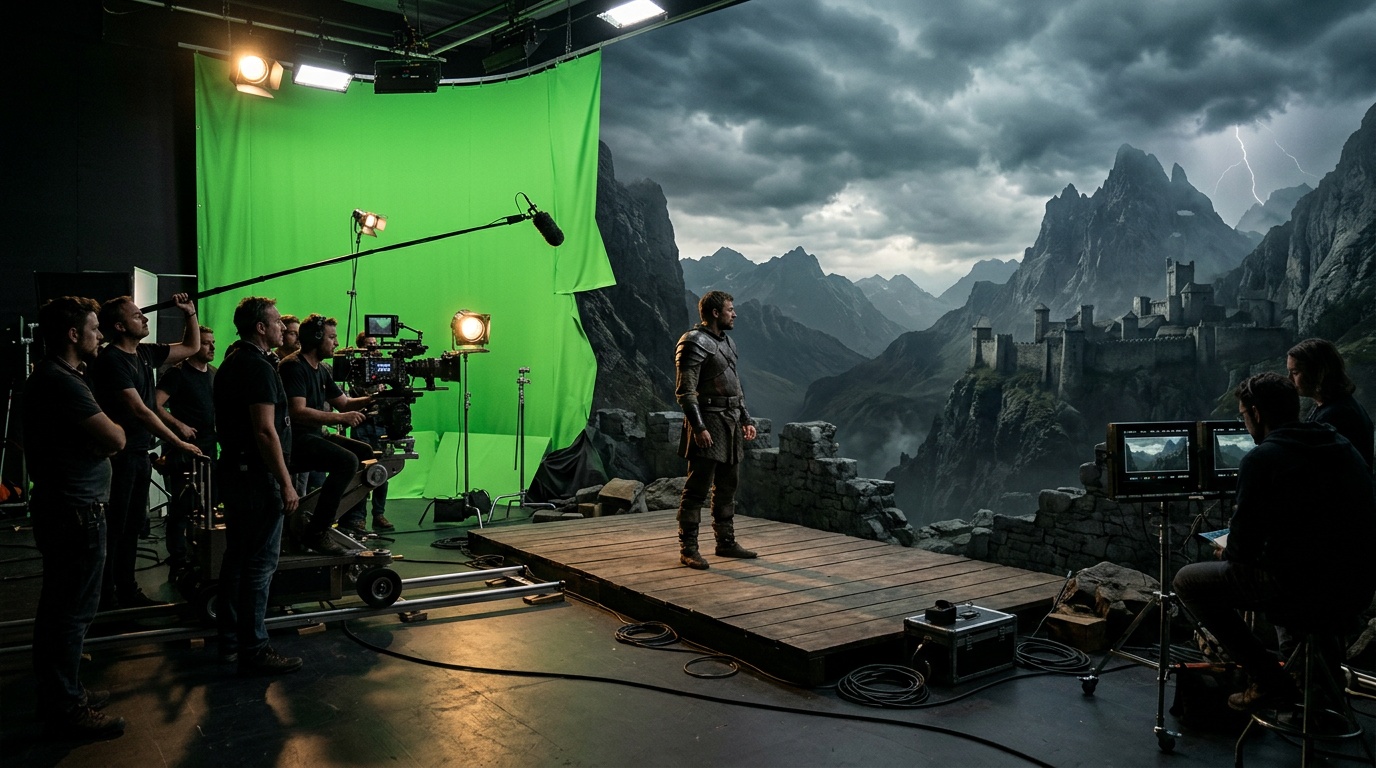
For years, replacing a video background meant one thing: green screen. You needed the physical setup, even lighting to avoid spill, hours in After Effects or Premiere, a software license, and enough post-production skill to pull a clean key. For most creators, that meant either renting a studio or just living with whatever background was behind them.
AI video-to-video changes the equation entirely.
How AI Background Replacement Actually Works
Traditional green screen works by isolating a specific color range and making it transparent, then compositing a new background onto the transparent layer. It is a mechanical process. The software does not understand your scene. It just removes green pixels.
AI video-to-video does something fundamentally different. The model analyzes the entire clip, understands what is happening in the scene, and regenerates the video with a new environment you describe in text. It does not simply remove and replace. It rebuilds. That means it can change atmosphere, time of day, weather, lighting conditions, and environment, not just swap a static image behind the subject.
The result is a clip that looks like it was filmed in the new location, not composited into it. The lighting on the subject responds to the new environment. The mood shifts. The scene feels coherent.
When AI Video-to-Video Beats Traditional Green Screen
You filmed without a green screen. This is the most common situation. You filmed at home, in an office, outdoors, or in a space you could not control. Any background can be replaced with AI video-to-video. You do not need to reshoot.
You want atmosphere, not just a backdrop. Instead of placing yourself in front of a static image, you can describe an environment with specific weather, light, and mood. A bedroom can become a luxury hotel suite at dusk. A home office can become a corner of a contemporary co-working space with floor-to-ceiling windows. The AI builds the scene, not just the background.
You need VFX-style elements without a VFX budget. Fire, particles, rain, snow, fog, neon-lit urban nights, dramatic cloudscapes. Effects that would require a compositor and motion graphics artist can be described in a text prompt.
Speed matters more than pixel-perfect edges. One text prompt and a few minutes of rendering beats a half-day in After Effects for most use cases.
When Traditional Green Screen Still Makes Sense
AI video-to-video is not a universal replacement. Traditional chroma keying still has advantages in specific contexts.
If you need pixel-perfect edge detail, especially for complex subjects like hair or semi-transparent fabric, a well-lit green screen with careful post-processing can give you more precise control than AI regeneration. If you are working inside an established post-production pipeline where the compositing team has specific requirements, maintain that workflow. If you need to composite multiple individually keyed elements with exact spatial positioning, traditional methods give you that precision.
For most creators and content teams, those edge cases do not apply. The speed and flexibility of AI video-to-video win.
Practical Use Cases
Business Content and Presentations
A speaker filmed at a home desk can be placed in a boardroom, a conference hall, or a branded environment. No studio rental. No backdrop purchase. No setup time. The video reads as professional from the first frame.
Reels, TikTok, and YouTube
Dynamic backgrounds stop the scroll. Generating a different visual environment for each video creates visual consistency across a channel without needing to actually film in multiple locations.
Online Courses and Webinars
Educational creators who film content regularly now have a practical way to build a consistent "classroom" aesthetic without physical equipment investment. Film once, apply a consistent environment across all episodes.
Ads and Landing Page Videos
Branded backgrounds matched exactly to campaign visuals. A product demonstration filmed in your office can be placed in the aspirational environment your brand communicates. The product stays front and center. The environment tells the story.
Step-by-Step: Replacing a Video Background in Kolbo
Step 1: Film Your Footage
You do not need a green screen, but clean lighting helps. Soft, even light on the subject makes it easier for the AI to understand the boundary between subject and background. Avoid strong directional light that creates deep shadows on the background behind you, as this can create visual confusion at the edges.
Keep at least a meter of distance between the subject and the original background. This reduces color spill and background influence on the subject's edges in the regenerated clip.
Any footage works. Existing clips, raw recordings, old videos. The model can work with what you have.
Step 2: Open the Video-to-Video Tool in Kolbo
Upload your clip. The tool accepts standard video formats and does not require any special export settings from your camera or phone.
Step 3: Write Your Environment Description
This is where most results live or die. Specific descriptions outperform vague ones every time.
Weak: "nice background"
Strong: "modern co-working space with floor-to-ceiling windows, soft natural daylight, plants, blurred background with other people working at desks"
Always explicitly state that you want to preserve the subject and their motion. Include something like: "keep the person and their movements exactly as filmed, only replace the background environment."
Describe the lighting you want in the new environment separately from the subject. If the new environment has warm afternoon light, say so explicitly.
Step 4: Generate, Review, and Refine
Run the generation and watch the result. If the background is not what you envisioned, adjust the description and regenerate. Common refinements:
- Add more detail about the specific look of the environment
- Specify the time of day more precisely
- If the subject's edges look rough, add "realistic lighting on the subject matching the new environment" to your prompt
- If the background feels too busy, add "shallow depth of field, blurred background" to pull focus to the subject
Step 5: Test Short Before Running Long
For longer clips, test on a 5-10 second segment before committing the full clip to a generation. This lets you refine the prompt without waiting for a full render each time.
Tips for Clean Results
Even lighting on the subject is the single most impactful technical factor. It does not need to be studio lighting, just consistent and without harsh shadows on the background behind you.
Keep environment descriptions grounded and specific. Abstract concepts like "professional" or "modern" produce inconsistent results. Concrete details like "concrete floors, track lighting, industrial ceiling" give the model something to build from.
For environments with strong light sources (windows, neon, fire), state their position: "large window to the left casting soft natural light."
Pro Tip: Generate Your Background Image First
For maximum control over the final look, generate a custom background image using Kolbo's text-to-image tools before starting your video work. Nano Banana 2 and GPT Image 2 both handle complex scenes with detail and atmosphere, and GPT Image 2 handles non-Latin text in images if your branded background needs text in Arabic, Hebrew, or other scripts.
Once you have generated an image you like, reference its visual style explicitly in your video-to-video prompt: "background environment that matches this aesthetic: [describe what you generated]." The visual coherence improves significantly when the model has a detailed reference.
The Kolbo Workflow Advantage
After replacing the background, your production does not stop. From the same workspace, you can add lipsync audio to the speaker, generate a matching music track with Suno v5.5, transcribe the clip automatically, or burn subtitles. Everything stays in one platform. No exporting, no format conversion, no switching between a dozen tools.
Start replacing backgrounds in your videos today at Kolbo.AI. Your first project takes minutes.