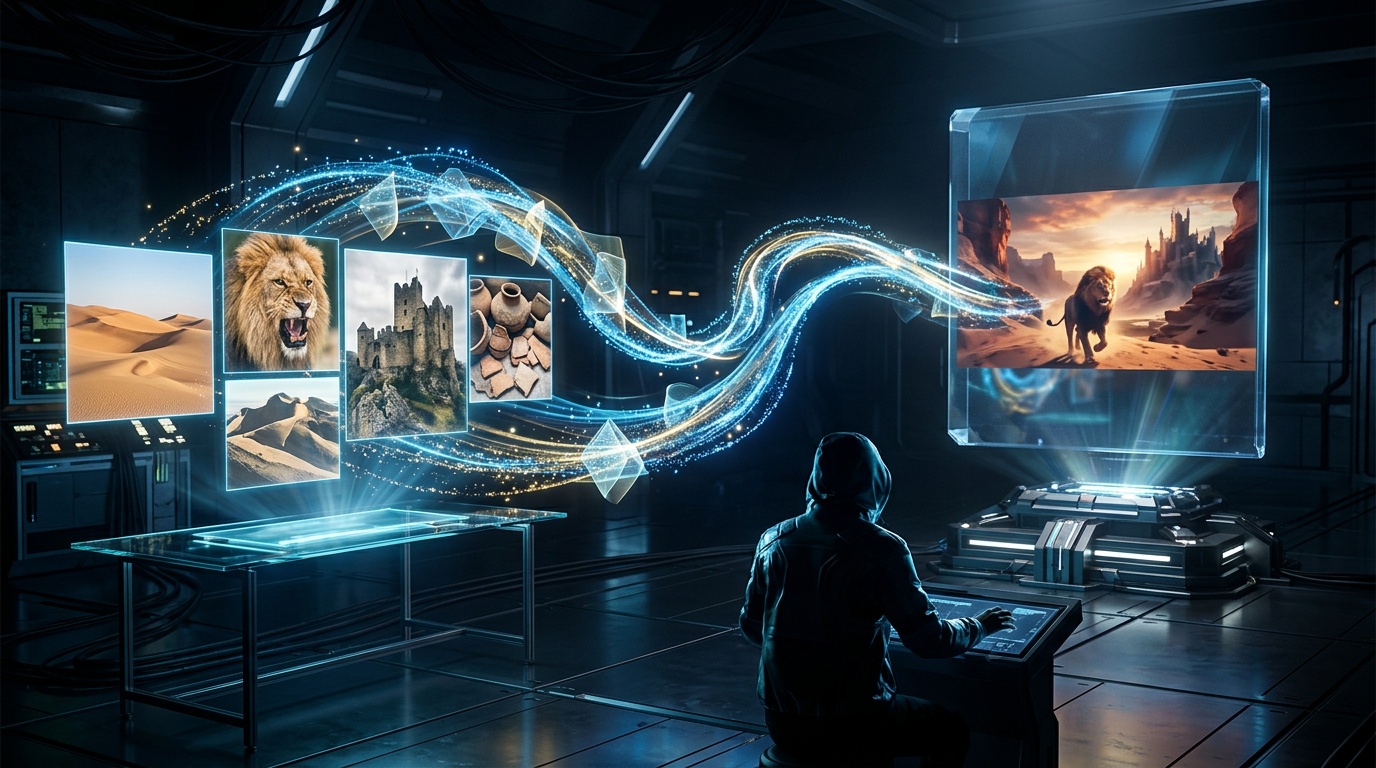
The central frustration with standard AI video generation is consistency. Describe a product in text and the model invents a version of it. Describe the same product again and the model invents a slightly different version. Run ten generations and you have ten different products, none of which match the actual thing you sell.
Kolbo's Elements mode solves this directly. Instead of describing your product or character in words and hoping the model interprets it correctly, you upload a reference image. Elements generates motion and environment around what it can see, not what it imagines. The result is a video where your actual product, character, or brand asset appears, not a plausible approximation of it.
What Elements Does Differently
Standard text-to-video generates everything from scratch using your prompt as the only input. The model invents the subject, the lighting, the background, and the motion all at once. This works well for abstract creative content and general scenes, but it is fundamentally incompatible with brand work where the subject has a specific, fixed appearance.
Elements changes the input model. You provide a reference image that anchors the visual subject. Your prompt then describes what should happen: the motion, the atmosphere, the environment, the camera behavior. The model locks the visual features from your reference and generates the scene around them.
The practical difference is significant. Elements clips look like they were produced with the actual product or character, because they were built from a real image of it.
When to Use Elements
Product Branding and Commercial Video
If you have a product photo, Elements can turn it into commercial-quality video content. The shape, color, label design, and surface details from your reference image carry through into the generated clip. You get a video that looks like a real product shoot, built from a single photograph.
Character Consistency Across a Campaign
A recurring character in a campaign needs to look the same in every clip. Elements preserves the face, clothing, hair, and general appearance from the reference image. This makes it possible to build multi-clip campaigns featuring the same character without the inconsistency that comes from text-only generation.
Brand Element Integration
Logos, brand objects, packaging, and visual identity elements can be integrated into video through Elements. Upload the brand element as a reference and write a prompt that describes the context and motion you want around it.
A/B Creative Testing for Paid Ads
The same product, five different environments and moods, running simultaneously as an ad test. Upload the product reference once, write five different motion and context prompts, generate five clips. This workflow for ad testing would require five separate production setups without AI. With Elements, it takes a few minutes.
Step-by-Step: How to Create an Elements Video
Step 1: Prepare Your Reference Image
Image quality at this stage determines output quality. Use a clean image with an even or neutral background. Good lighting with minimal harsh shadows helps the model read the subject clearly. Resolution should be at least 1024 pixels on the longer edge. A three-quarter angle works better than a straight-on shot for most subjects, because it gives the model more visual information about the object's form. For faces and characters, a clear frontal or slight three-quarter angle captures the most identifying features.
Step 2: Open Elements in Kolbo Video Tools
Navigate to the Elements section within Kolbo's video tools. This is separate from the standard text-to-video interface, which operates without reference inputs.
Step 3: Upload the Reference and Set the Subject Type
Upload your reference image and indicate whether it represents a character, a product, or a brand element. This context shapes how the model weights the reference features during generation.
Step 4: Write a Prompt About What Happens, Not What It Looks Like
This is the most common mistake and the most important distinction to understand. Your prompt should describe motion, environment, atmosphere, and action. It should not describe the subject itself.
Write: "Product slowly rotates on a matte black surface with gold light particles drifting through the frame."
Do not write: "An olive oil bottle, green glass, white label with serif font, placed on black background." The model already sees the bottle. Describing it again competes with the reference image rather than directing the scene.
For characters: "Person walks along a sunlit coastal path at dusk, slow dolly shot forward" is a strong prompt. "Woman with dark hair in casual clothes walking" is redundant because the reference image already contains that information.
Step 5: Set Reference Strength
Reference strength controls how tightly the model adheres to your input image versus how freely it interprets the scene. For products, 80 to 90 percent strength preserves the appearance most accurately. For characters, 70 percent allows more natural movement and expression while maintaining the key identifying features. Experiment with this setting when you are getting results that feel either too rigid or too inconsistent.
Step 6: Set Clip Length and Aspect Ratio
Four to six seconds is the practical sweet spot for most commercial and social media use. It is long enough to communicate the product or character clearly, short enough to work as an ad unit or social clip without editing. Set aspect ratio based on where the content will run: 9:16 for Instagram Reels and TikTok, 16:9 for YouTube pre-roll, 1:1 for feed posts.
Step 7: Generate and Iterate
Elements is designed for rapid iteration. One reference image with three different prompts gives you three distinct versions to choose from. The generation time is short enough that this is a practical workflow, not a theoretical one.
Elements and Visual DNA Together
Elements preserves a specific asset: your actual product image or character reference photo. Visual DNA preserves the overall brand style and mood: color palette, lighting character, aesthetic direction, and visual atmosphere.
Used together, they produce clips where the product appears consistently AND the broader aesthetic matches your campaign. A cosmetics brand running a holiday campaign could use Elements to anchor the product across 8 clips while Visual DNA ensures all 8 clips share the same warm, editorial, candlelit feel. The result looks like a campaign that was planned and shot as a unified body of work.
A Real Workflow Example
A cosmetics brand needs 8 Instagram video clips for a product launch. They have 8 product photos, one per item.
Using Elements: upload each product image, write a motion prompt for each (rotating display, slow pour, steam rising, surface reflection), set reference strength to 85 percent, generate all 8 clips. Apply Visual DNA to ensure visual consistency across the set. Export all 8 clips in 9:16 format.
Without AI: book a studio, hire a product video team, schedule an 8-product shoot day, edit, revise, and receive final clips 2 to 3 weeks later.
Key Rules to Remember
Describe what happens in your prompt, not what the subject looks like. One reference with three different prompts gives you meaningful creative options without extra effort. Adjust reference strength when output feels either too stiff or too inconsistent. Clean source images produce dramatically better output than cluttered ones.
Elements works best when you treat the reference image as the creative brief for the subject, and the text prompt as the creative brief for everything around it.
Ready to build videos from your actual brand assets? Start with Elements at app.kolbo.ai