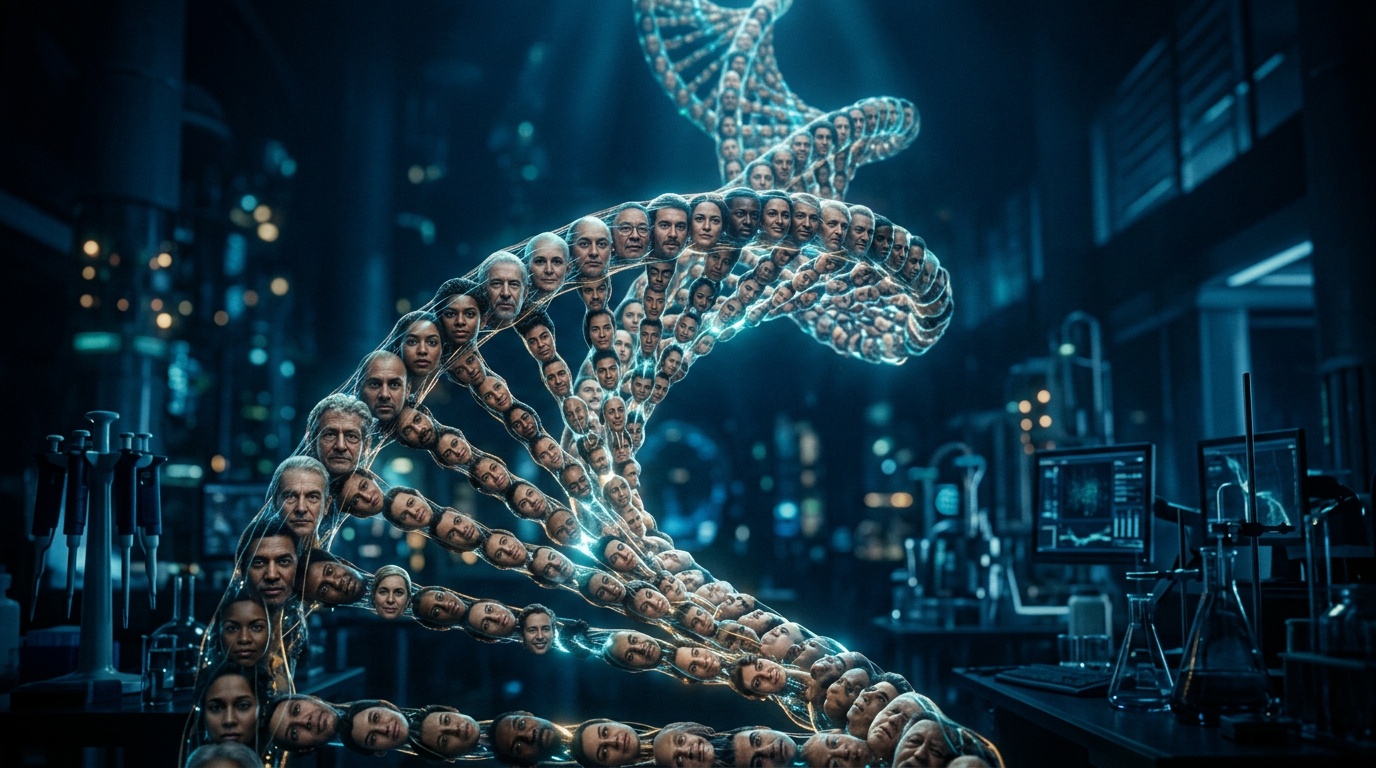
You created a character with AI. The face is perfect, the style is exactly right, the look is nailed. You save the prompt, paste it for the next image, and get back a sibling: similar, but not the same person. A small change of angle, lighting, or pose, and the character has drifted.
That is not a bug. It is how AI models work by default: every generation is independent. Visual consistency is the number one problem for anyone building a brand, a content series, or a children's book with AI. Visual DNA is the fix, and this guide covers the whole system: creating a DNA, character sheets, @mentions across the image and video tools, and the workflows that make it a daily production tool.
What Visual DNA Is, and Why It Beats a Long Prompt
Visual DNA is not just a saved prompt. It is a stored "identity" for your character, product, or style, a combination of reference images and a focused text description, that acts as a permanent anchor in every new generation.
Without a DNA, the model reinterprets your prompt from scratch each time. With a DNA, it is anchored to the identity you defined. In practice that means dramatically higher consistency between different images of the same subject: the difference between "looks kind of like her" and "that is her."
The logic is simple. Instead of re-describing "green eyes, wavy brown hair, sharp jawline" every time, you just reference the DNA. The information is stored. The generation comes out consistent.
How to Create a Visual DNA in Kolbo
Step 1: Choose Strong Reference Images
This is the most critical step. Use at least 3 images, ideally 5 to 6:
- Varied angles: frontal, profile, three-quarter
- Varied lighting: natural, studio, outdoor
- Varied expressions: neutral, smiling, focused
- High resolution: the model needs to read fine detail
Weak references produce a weak DNA, which produces inconsistent output. Do not cut corners here. If you only have one good image, generate variations of it first with an editing model like Nano Banana 2, then feed the best ones back in as references.
Step 2: Write a Focused Description
Alongside the reference images, you add a text description. The rule: describe only what cannot be seen in the images. Approximate age, personality if it matters to the style, and details that must repeat in every scene.
What not to include: background colors, specific outfits (unless the outfit is part of the character), and emotional expressions. Those should change per prompt.
Step 3: Name It Clearly and Save
Emma - lead character, Product X - red and black, Retro 80s style. Clear names save real time once you are juggling multiple projects.
Step 4: Generate a Character Sheet
Once the DNA exists, Kolbo can generate a multi-angle character sheet: the same character rendered from several angles and poses on one sheet. This does two things. First, it is your quality check: if the sheet holds identity across angles, your DNA is solid; if it drifts, improve the references and regenerate. Second, the sheet itself becomes a powerful reference asset for video tools and storyboard workflows, where a model benefits from seeing the character from multiple sides at once.
Using Your DNA: @Mentions Across the Tools
Here is where Visual DNA becomes a workflow rather than a feature. Inside Kolbo's prompt boxes, you reference a DNA by @mentioning its name, the same way you would tag a person in a chat. Type @ and pick the DNA, then write your scene.
- Text-to-Image: open the Text-to-Image tool, @mention your DNA, and write only the scene:
@Emma sitting at a Paris cafe, warm afternoon light, editorial style. Works with the leading image models like Nano Banana 2, GPT Image 2, and Seedream. - Creative Director: Kolbo's multi-scene batch tool. @mention the DNA once and run 8 scenes in one batch: city exterior, white studio, market, evening event. Every image different, the character identical. This is how you produce an entire campaign in one sitting.
- Video tools: the same @mention works when generating video. Anchor your character in an image first, then animate with Seedance 2 or Kling, or use the character sheet as reference material in multi-shot workflows. The DNA keeps the face stable from still to motion.
The Rule Everyone Forgets: Never Re-Describe What Is in the DNA
This is the most common mistake. People build a detailed Visual DNA, then write prompts like: "a woman with green eyes and brown hair, around 30, sharp jawline, sitting at a cafe..."
Do not do that. When you reference a DNA, your prompt should cover only the scene: what the character is doing, where, in what light. The physical details are already stored. Duplicating them creates a conflict that confuses the model and hurts consistency.
Correct prompt with a DNA: @Emma sitting at a cafe in Paris, warm afternoon light, looking out the window, editorial style
Wrong prompt with a DNA: @Emma, green eyes, brown curly hair, 28 years old, sitting at a cafe in Paris...
Visual DNA for Products, Not Just Faces
Most people think of Visual DNA in terms of human faces. That undersells it. Any object that must appear consistent benefits from a DNA.
A specific sneaker. A software product with a recognizable UI. A designed bottle. A car. A 3D logo. Create a DNA with images from 3 angles plus a short description of materials and distinctive details, then place the product in any scene.
Example: a fashion brand launching a new sneaker. The DNA: 4 original photos of the shoe plus "glossy white with black sole, gold stitching, side logo." Then: @sneaker on a beach at sunrise, water reflection, @sneaker in an urban setting, graffiti wall background, @sneaker floating on white, product shot. Three different shoots, one identical shoe, zero photography.
Visual DNA for Brand Style
The advanced level: a DNA that defines a visual style rather than a specific object. This is relevant for agencies, designers, and anyone producing branded content at volume.
The DNA here contains images representing the palette, textures, level of realism, and the "feel" of the brand. There is no specific character, there is an aesthetic. When you work with multiple clients, each client gets their own style DNA, and every generation stays inside the right visual world regardless of who on the team is prompting.
Managing Multiple DNAs
Once you work seriously with DNAs, you quickly reach 10 to 20 active ones: different clients, projects, and characters. Kolbo lets you save as many as you need and organize them by name and folders. A few tips:
- Clear prefixes:
[Client] DNA name, like[Brand X] Heroineor[Brand Y] Flagship product - One DNA per project: never reuse one client's DNA for another, even if the styles look similar
- Keep DNAs current: when a brand refreshes, update the DNA instead of accumulating stale versions
A Complete Workflow, Start to Finish
- Generate or collect 5 strong reference images of your character
- Create the Visual DNA with a focused description, and generate a character sheet to verify identity holds
- In Text-to-Image, @mention the DNA and produce stills for your campaign
- In Creative Director, run a multi-scene batch with the same @mention for the full set
- Animate the best stills with Seedance 2 or Kling, keeping the character anchored
- Assemble everything in Kolbo's browser Video Editor and export
Every project starts with a DNA. Every generation references the right one. Every campaign comes out consistent. That is the difference between work that looks "made with AI" and work that looks professional, intentional, and unmistakably yours.
Want to try it? Open a free Kolbo.AI account and build your first Visual DNA. Setup takes under 5 minutes, and you will feel the difference on the very first generation.