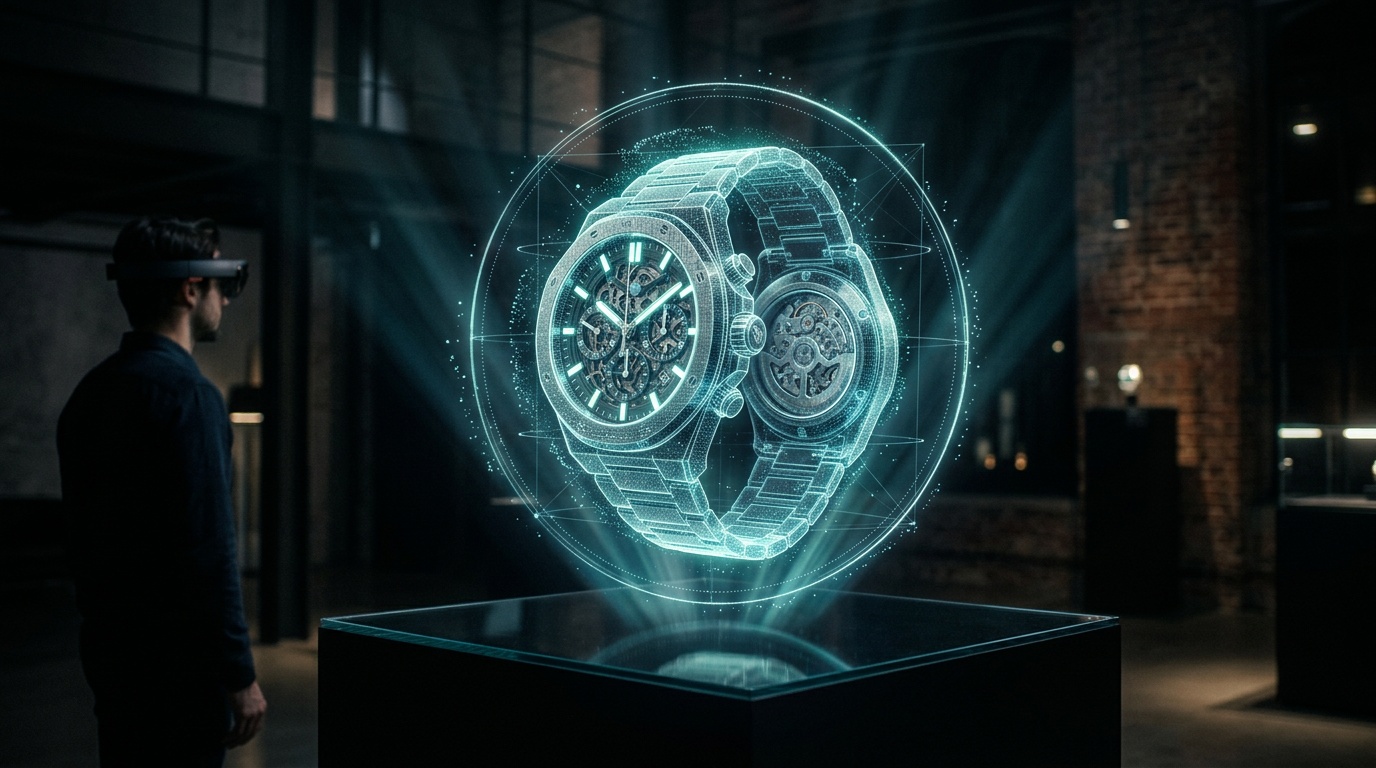
The most common complaint from online shoppers: "I could not tell what it actually looks like." Flat product photos, however professional, do not answer the spatial question: What does this look like from the side? From behind? How does the lid open? How does the base sit on a table?
3D product visualization answers all of those questions. Until recently, producing it required a specialist, expensive software, and days of work. In 2026, AI generates a 3D model from product photos in under five minutes.
This guide covers the complete workflow: how to generate accurate 3D models of products, what the settings actually mean, and how to use the built-in viewer and export for AR.
Why 3D Product Visualization Now
Several things became true at the same time:
Conversion data supports it. Research across multiple e-commerce platforms consistently shows that interactive 3D product viewers increase conversion, reduce returns, and increase time on product page. Customers who can rotate a product view it as if they held it.
AR on mobile is mainstream. Every iPhone and most Android flagship phones can display AR product previews through the browser. No app required. A shopper can place a sofa in their living room before buying it.
The production barrier collapsed. Generating a 3D model no longer requires a professional 3D artist or specialized software. It requires a few quality product photos and AI tools like those in Kolbo.AI.
Two Modes of 3D Product Generation
Single-Image to 3D
Upload one product photo, receive a 3D model. The fastest method and, for the right products, sufficient.
When it works well:
- Products with simple or symmetric geometry: bottles, jars, cups, bowls, shoes
- Products photographed from a three-quarter angle (partial front, partial side)
- Products with a clearly defined silhouette
How it works: the AI infers geometry from one view. What it cannot see, it reconstructs based on the overall shape it identifies. For symmetric products, this is accurate. For a product with a unique feature only visible from the back, that feature may be inaccurate.
Recommended photo setup:
- White or light gray background
- Even lighting, no harsh shadows
- Three-quarter angle: approximately 45 degrees off frontal
- Product occupying 70 to 80 percent of the frame
Multi-Image to 3D (up to 4 images)
Upload multiple photos of the same product from different angles and the AI combines them into a significantly more accurate model.
When to use it:
- Products with important detail on multiple sides (labeled packaging, products with hinges or unique back profiles)
- High-value items where accuracy directly affects customer trust
- Any product where the back or underside matters
The recommended set of four angles:
- Front view (slightly elevated)
- Side view (left or right)
- Back view
- Top-down view
Critical: keep lighting consistent across all shots. Different light setups create shadows that confuse the model. Shoot everything in the same location, same time of day, same distance.
Understanding the Generation Settings
Every setting in the 3D tool has a practical consequence. Here is what each one means in plain terms.
Target Polycount
The number of polygons (triangular or quad faces) in the output mesh. More polygons means more detail but also a larger file and higher rendering load.
Practical guidelines:
- Web and e-commerce viewers: 10,000 to 20,000 polygons balances visual quality with fast loading
- AR experiences on mobile: 5,000 to 15,000 for smooth performance
- High-quality rendering or catalog images: 30,000 to 50,000
The default (30,000) is appropriate for most use cases. Drop it if the model will be delivered over mobile networks.
Topology: Triangle vs. Quad
This determines how the mesh faces are structured.
- Triangle (Tri): faster to process, directly compatible with game engines and AR frameworks, but harder to edit if you want to modify the model afterwards
- Quad: each face is four-sided, which deforms better during animation, and is strongly preferred if you plan to import into Blender, Cinema 4D, or similar tools
For standard product visualization with no plans to edit: Triangle. For anything going into a professional pipeline: Quad.
PBR (Physically Based Rendering)
PBR adds texture maps that simulate realistic light interaction: metalness, roughness, and normal maps. The result is a model where metal looks like metal, glass looks like glass, and matte plastic looks like matte plastic rather than everything looking like the same flat material.
Turn PBR on for realistic product visualization and e-commerce. Turn PBR off for stylized renders, sculptures, or when the end use is illustration rather than realism.
Symmetry
- Off: the model follows the input exactly. Use when the product is asymmetric or has different details on different sides.
- Auto: the AI judges whether the object is symmetric. Good general-purpose setting.
- On: forces symmetry. Use for products that should be perfectly symmetric (cylindrical bottles, spherical objects, most cups and vases) but where the input photo has slight perspective distortion that would otherwise create minor asymmetries.
Art Style
- Realistic: the default. Maximizes fidelity to the source photo.
- Sculpture: stylizes the model with cleaner, smoother surfaces and more defined geometric forms. Use for rendered product images where you want a more artistic, editorial look.
The Built-In 3D Viewer
After generation, Kolbo.AI opens the model in a built-in interactive viewer. This is not just a preview: it is a presentation tool.
What the viewer lets you do:
- Rotate the model in all directions with a mouse or touch
- Zoom in to inspect surface detail
- Toggle lighting environments
- Compare the model against the reference photos
For clients and stakeholders: you can share the viewer link directly. Clients can inspect the model in the browser without downloading anything or having any software installed.
Quality checkpoint: before exporting, rotate slowly through 360 degrees and check for visible artifacts: gaps in the mesh, incorrect geometry on the back side of the product, incorrect color mapping. If you see issues, return to generation with additional reference images.
Export Formats by Use Case
| Use Case | Recommended Format |
|---|---|
| Website product viewer | GLB (self-contained, widely supported) |
| AR mobile preview | USDZ (iOS), GLB (Android via WebXR) |
| Blender editing | OBJ with MTL texture file |
| Unity or Unreal Engine | FBX |
| 3D printing | STL |
GLB is the most broadly useful format. It is a binary GLTF file that packages the mesh and all textures into a single file, with no separate texture folders to manage.
E-Commerce Integration: AR Preview in the Browser
The most powerful application of 3D product models is placing them in an AR viewer on the product page. When a customer clicks "View in your space" on a smartphone, the product appears on their floor, desk, or shelf at real scale.
This is not a future feature. It is a current WebXR standard supported by Safari and Chrome on mobile. Implementation in most e-commerce platforms is a single file upload.
On Shopify: upload the GLB file to the product media and Shopify automatically enables the AR preview button on compatible devices.
On WooCommerce: several free plugins support GLTF/GLB product models and add the AR viewer to the product page.
On a custom site: the <model-viewer> web component from Google handles 3D and AR display with a few lines of HTML. No programming background required.
Practical Workflow: A Kitchenware Product
Goal: AR-ready 3D model of a cast iron skillet for a cookware e-commerce site
Step 1: Photography
- Four shots: front (from slight elevation), side, back, top-down
- Setup: white seamless background, daylight-balanced LED panel, consistent distance
- All shots at 3,000 x 3,000 pixels minimum
Step 2: Generation
- Mode: Multi-Image to 3D, upload all four photos in order
- Settings: Topology Quad, Polycount 20,000, PBR on, Symmetry Auto, Art Style Realistic
Step 3: Review
- Check the handle geometry: does it match the source photos?
- Check the handle-to-body join: is it clean?
- Check the underside: flat or with any engraving?
Step 4: Export
- Export GLB for the website and Shopify product listing
- Export USDZ for iOS Quick Look
- Keep the native project file for any future updates
Use Cases by Industry
Online retail: 360-degree product views and AR try-before-you-buy. Particularly effective for furniture, home goods, footwear, and electronics.
Product design and prototyping: designers generate 3D models from early concept photos and share for client review before committing to physical production.
Architecture and interior design: furniture, lighting, and decor models generated for space planning presentations and AR room staging.
Education and training: 3D models of physical objects used in interactive lessons, manuals, or assembly simulations.
Packaging and print design: generate a 3D model of the final packaging to review how the design looks when wrapped around the actual form.
Getting Started
The gap between "product photo on a white background" and "fully interactive 3D model ready for an e-commerce AR viewer" is now less than ten minutes and requires no specialist skills.
Try Kolbo.AI's 3D tools free. Upload your first product photo and generate your first 3D model, then share the viewer link and see how your customers respond.